How to tie shoelaces: The step-by-step guide for beginners
3887
Like riding a bike or using your manners, learning how to tie shoelaces is something that we’re usually taught early on in life. Whether you’re teaching your kids how to tie their shoes independently or you’re looking to take your own lace-tying back to basics – it may take a few tries to learn, but with patience and persistence, almost anyone can pick it up.
There are many different lace-tying methods you can follow, but to keep the process simple and stress-free, we’ve put together a step-by-step beginner’s guide that features two of the most popular and easiest ways to learn. Lacesat the ready!
Before you get started…
Make sure you place your shoe on a flat surface whileyou’re learning how to tie your shoelaces. If you’re teaching someone else,try to keep your hands and fingers clearly visible so all steps can be seen and followed. When you’re ready to start learning, always ensure both laces are the same length.
Important to note: These steps are for a right-handed person to follow, so swap around the lefts and rights if you are left-handed.
The ‘bunny ears’ method
Up first, we have the ‘bunny ears’ method, which takes its name from the two loops created before tying the laces in a bow. This five-step method is especially great if you’re teaching children how to tie laces.
Step 1:
Pick up both laces and cross one over and under the other. Pull both ends of the laces tightly to form a simple knot in the middle of the shoe.
Step 2:
Take one lace and make a loop (or ‘bunny ear’ shape) by holding it between your thumb and first finger. The loop part should be small, and the leftover ‘tail’ of the lace should be long.
Step 3:
Repeat this step on the other lace. You should now have two ‘bunny ears’.
Step 4:
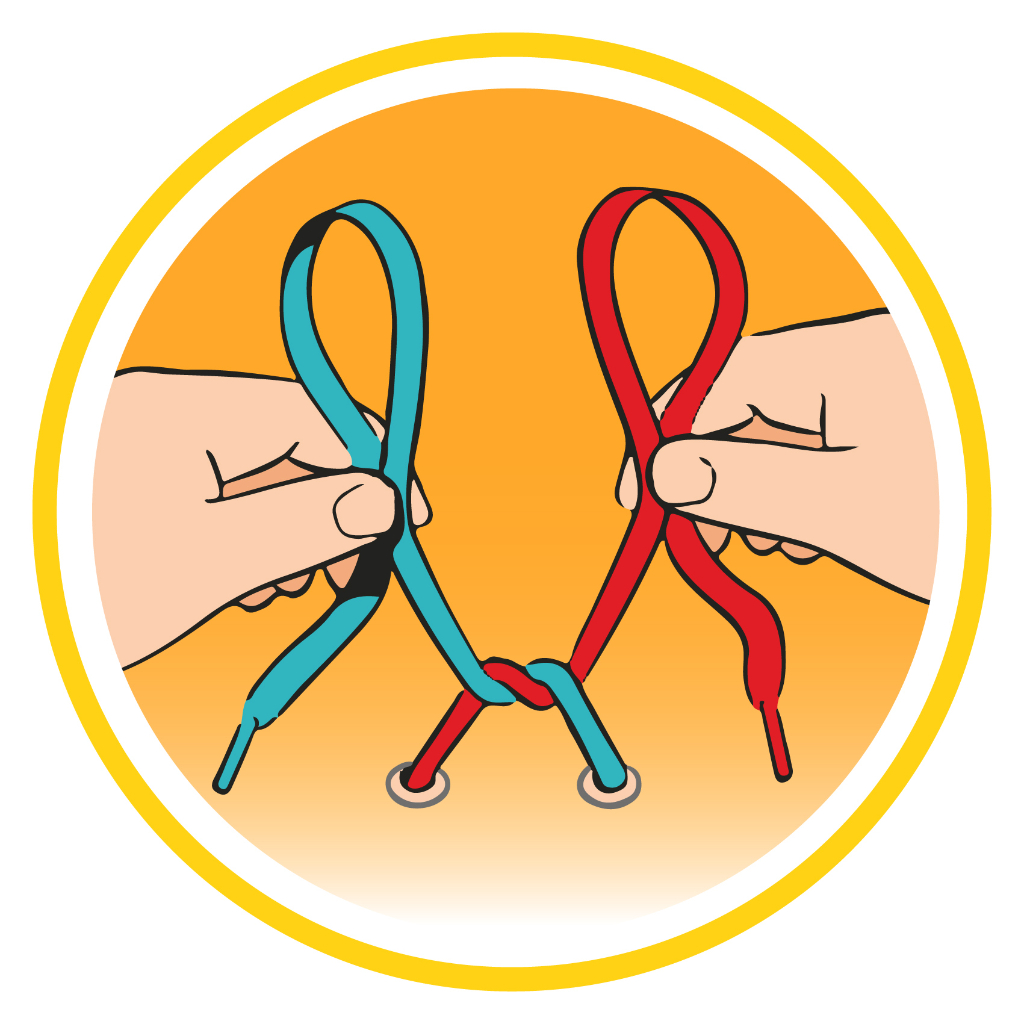
Now, take the two loops and tie them together the same way you made the first knot (crossing one loop over the other and threading under and through).
Step 5:
Pull both ends tightly until a bow is formed.
The ‘standard’ method
The second method (also known as a ‘bowknot’ or the ‘around the tree’ shoelace knot)is a more commonly used way of tying your laces. This isn’t as simple to learn or teach little ones, which makes it favoured more so among adults.
Step 1:
Like the previous method, start by forming a simple knot in the middle of the shoe.
Step 2:
Make a loop with the right shoelace by holding the end of the lace between your right thumb and first finger.
Step 3:
Take the left shoelace in your left hand and wrap it around the loop you’ve already made in an anticlockwise motion (behind and then in front).
Step 4:
Then, push the left lace into the hole between the laces so it forms a small loop. This step can be the most difficult part, so make sure you take your time and try to mirror the image below.
Step 5:
Once looped through, pull both loops tightly until a bow is formed.
Top tips for tying shoelaces
Practising with pipe cleaners, a skipping rope or two different-coloured ribbon lengthsis a great way to help with learning how to tie your shoes – these are slightly sturdiermaterialswhich can help keep each loop in place while you’re learning. It also means you can practise on the go!
If you’re teaching your child, create a practice board by drawing the eyelets of a shoe on a piece of paper and threading the laces through to give a flat surface to practise on. This is also a great way to make learning more fun for your little one.
Setting time aside for at least 10 minutes every day will help your child pick up the process more quickly.
Make sure you’re comfortable tying regular shoelaces before beginning to practise on different shoe styles, like trainers and boots.
If you’ve mastered the common methods above, why not make the process more interesting by experimenting with different lacing styles? For some inspiration, head over to our blog post to which demonstrates five cool lacing styles.
With two methods to try out, we hope our beginner’s guide has helped you learn, or teach, how to successfully tie shoelaces. For more advice or inspiration take a look at our blog, or browse our range of affordable laces for the whole family.